How to use the SSO User Mapping
Overview
This feature allows you to configure how users are automatically assigned roles when they are created through SSO (Single Sign-On).
Important Notes
This feature applies only to new user creation, not existing user updates
If a user's group membership changes later, their permissions will not automatically update
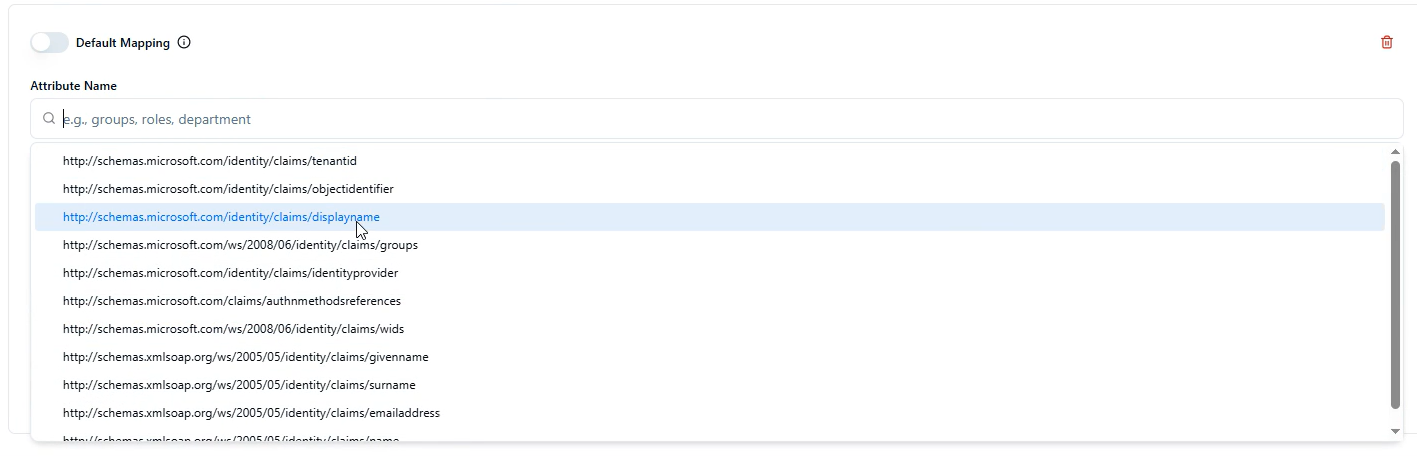
User mappings are based on attributes such as display name, tenant ID, object identifier, or groups
Step-by-Step Instructions
1. Set Up Default Mapping
Navigate to the SSO configuration section
Configure the default mapping that applies to any user who doesn't match specific criteria
Example default mapping: "transfer user" + "basic auth" + "SSO auth"

2. Create Custom Role Mappings
Select "Create another mapping"
Choose which user attribute to map (options include):
Display name
Tenant ID
Object identifier
Groups
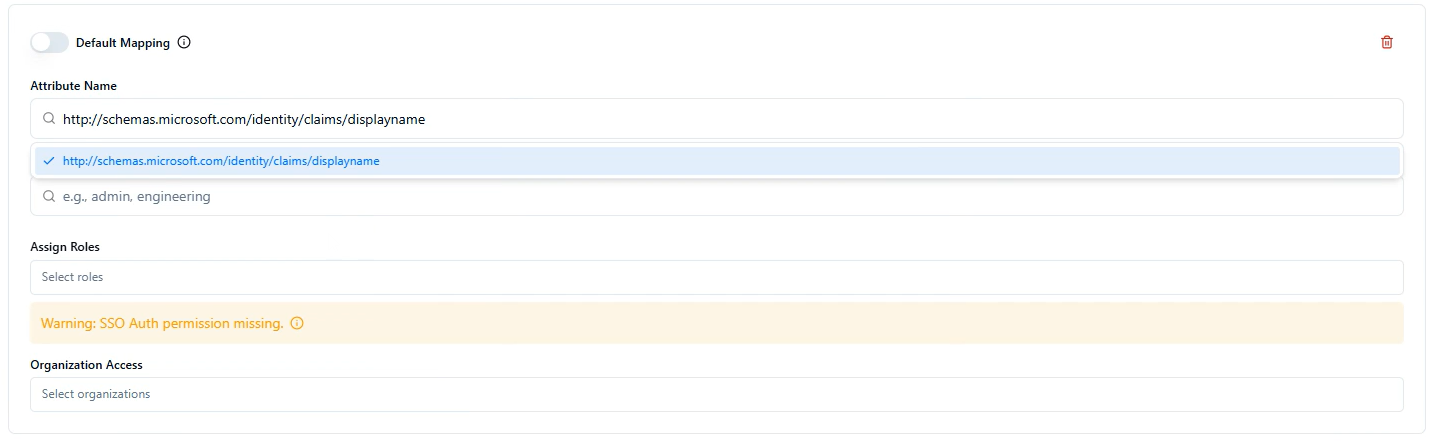
Enter the specific value to match
Select which role(s) to assign when this attribute matches
Click "Save"
3. Testing the Configuration
Delete any test users if needed
Log out of your account
Click the SSO button to authenticate
The system will create a new user with appropriate permissions based on your mappings
Verify the user creation timestamp and assigned roles
4. Understanding Role Assignment Logic
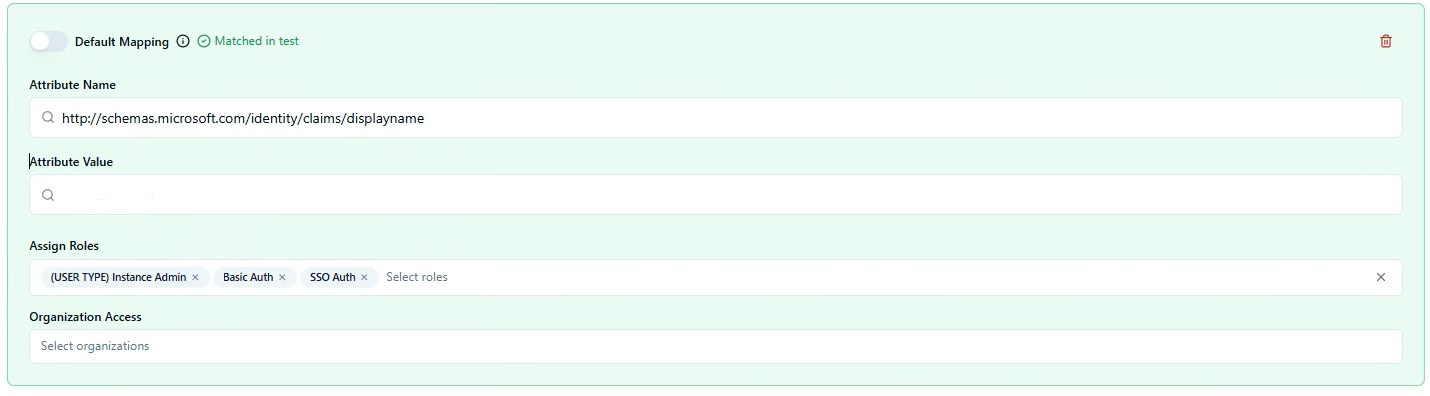
Users can receive multiple sets of permissions if they match multiple mapping criteria
The default mapping applies to all users, plus any specific mappings they match
Example: A user matching a custom mapping for "instance admin" will receive both those permissions and the default "transfer user" permissions
5. Troubleshooting
If SAML is not configured for a customer code, you will receive an error message
Check the Admin section to verify user creation timestamps and assigned roles