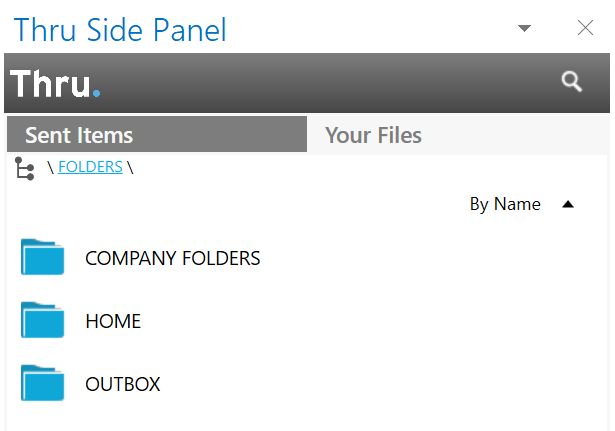
Your Files Tab in Side Panel
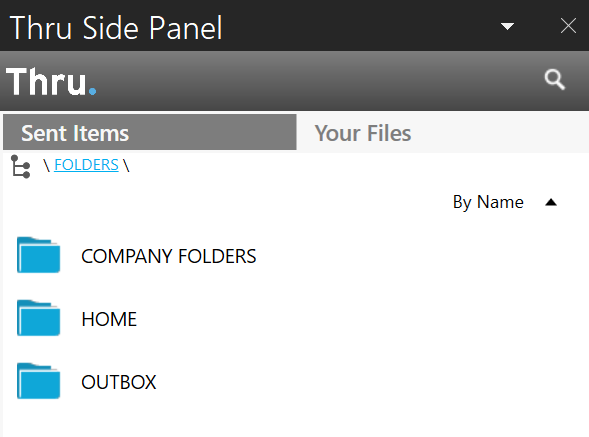
The right-hand tab within Thru Side Panel, Your Files, is where you can access and manage all files you have stored in Thru.
Navigate within your file system by double-clicking on folders and by using the folder path located above the folder tree.
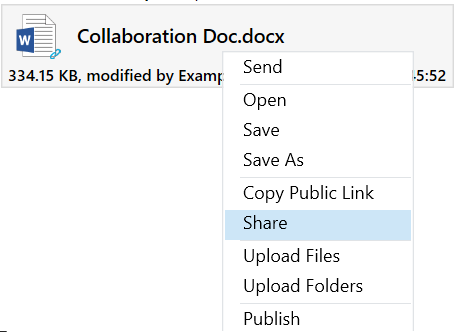
Right-click on any file or folder within Your Files and you will see the various actions that can be performed.
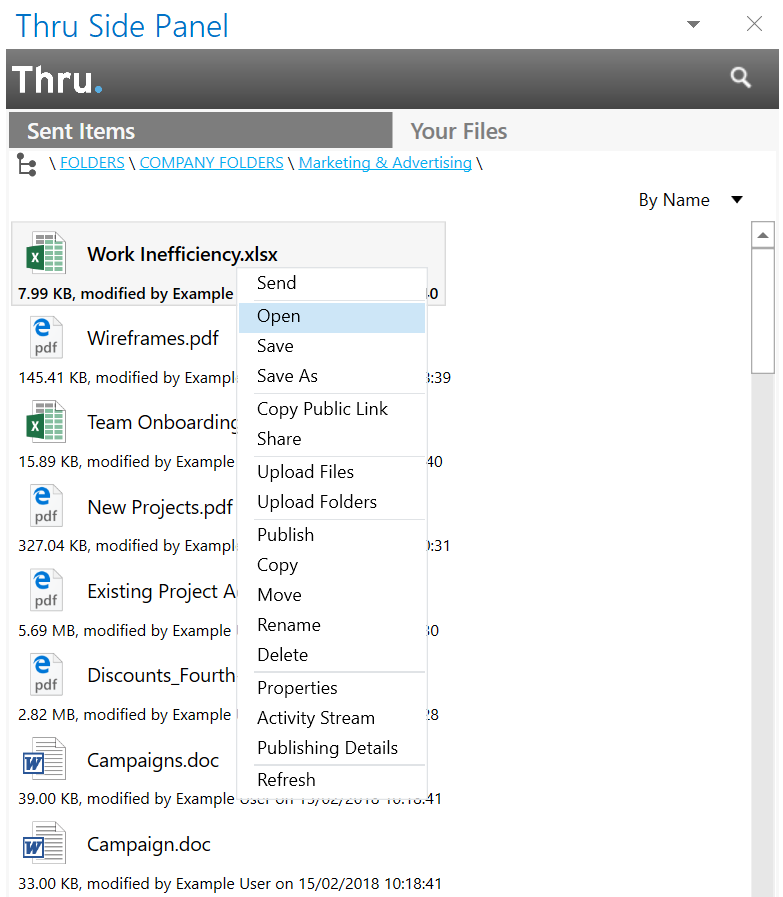
Read about actions that can be performed in Your Files below:
File and Folder Actions
This section explains multiple actions you can perform within the Your Files tab of Thru Side Panel by right-clicking on a file or folder.
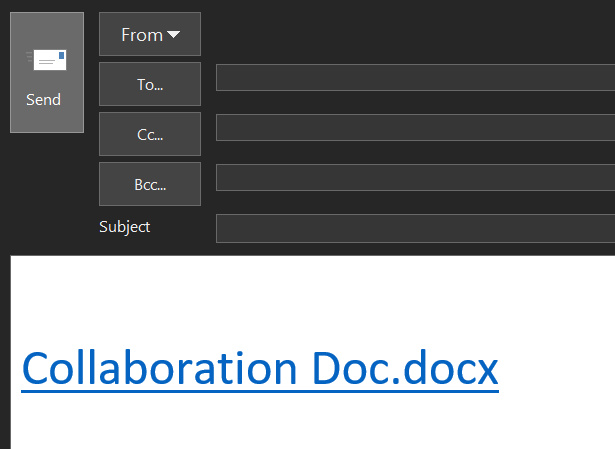
Send Files/Folders
To send files/folders from Thru Side Panel:
Right-click files/folders and click Send.
Outlook will automatically compose a Thru Email with your selected attachments.
Fill in the additional details of your email and click the send button.
To learn more about sending a Thru Email in Outlook, refer to Sending Thru Email
Example of Thru Email: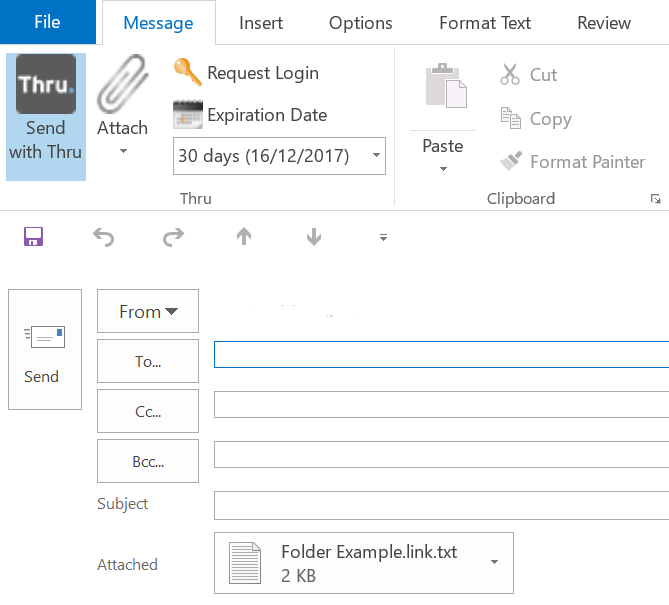
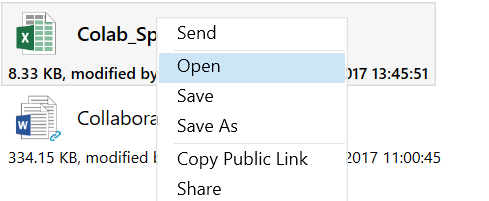
Open Files or Folders
There are two ways to open files directly from the Thru Side Panel.
In each method, the file will automatically save in the Downloads folder and open in the appropriate application on your desktop.
Double-click on an individual file.
Or, right-click a file and click Open.
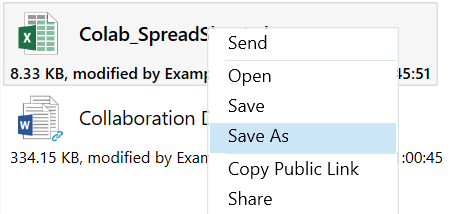
Save and Save As for Files or Folders
Save: To download files or folders directly to the Downloads folder on your desktop, right-click a file or folder, and then click Save.
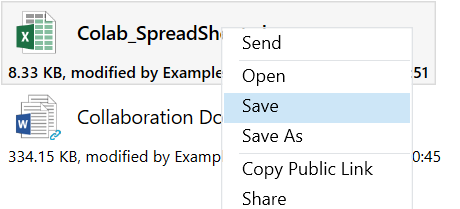
Save As: To choose a specific folder on your desktop to download files or folders to, right-click a file or folder and then click Save As.
Copy Public Link
Clicking on Copy Public Link from your files in the Outlook Side Panel creates a public link directly to the file.
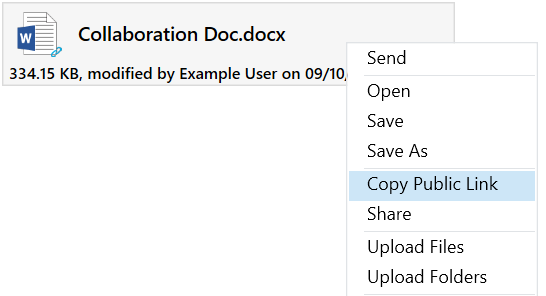
That link can then be pasted directly into a Microsoft Application as a self-contained hyperlink.
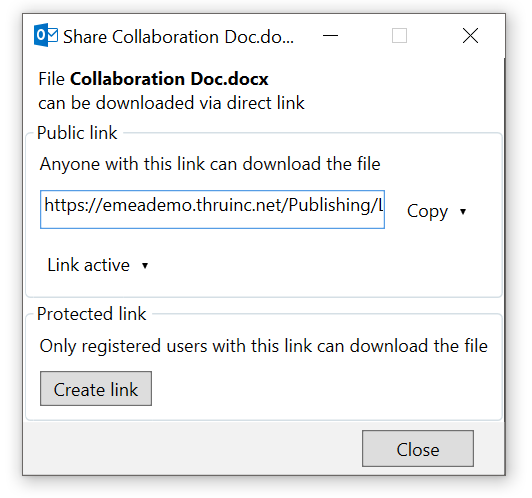
Share Files or Folders
Share allows the user to create a direct link to a file or folder on the Thru server.
Sharing a File
Right-click on a file and select Share.
A popup window opens with the option to create a Public link or Protected link requiring registration.
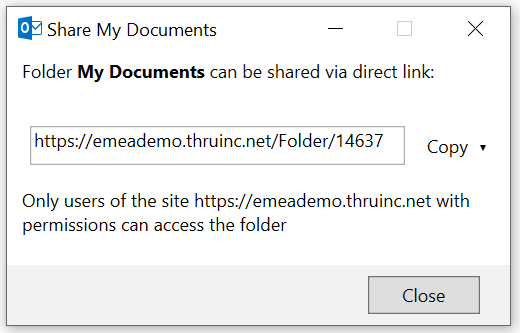
Sharing a Folder
Share also allows a user to share a folder, but only to users of the site with permissions to access the folder.
Upload Files/Folders
To add Outlook emails, files or folders to the Thru Side Panel, there are two options:
Note: All Outlook emails added to Thru via the Thru Side Panel are automatically saved in the Outlook Message Format.
Drag and Drop
To drag and drop Outlook emails, files or folders to your Thru file system using Thru Side Panel:
Select the files, folders or emails you want to upload to Thru and drag them to any folder within the Your Files tab.
Dragging and dropping content to the side panel will trigger the Thru Transfer Manager to upload the files to the Thru server.
Once files are finished transferring, the files will auto-populate in the folder that you dropped them in.
Below is an example of dragging and dropping an Outlook email to Thru Side Panel.

Manual Upload
To manually upload files/folders:
Right-click a folder (or anywhere within a folder) and click either Upload Files or Upload Folders.
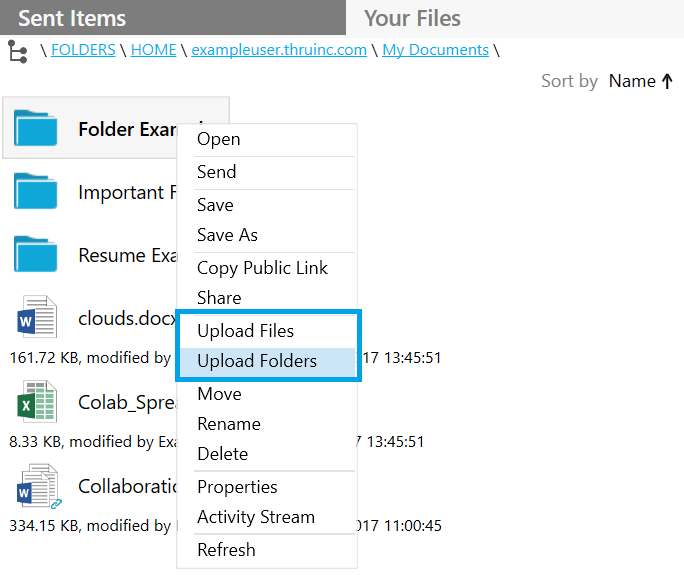
An Explorer window will open for you to navigate to the file(s) or folder that you would like to upload to the Thru server.
Publish
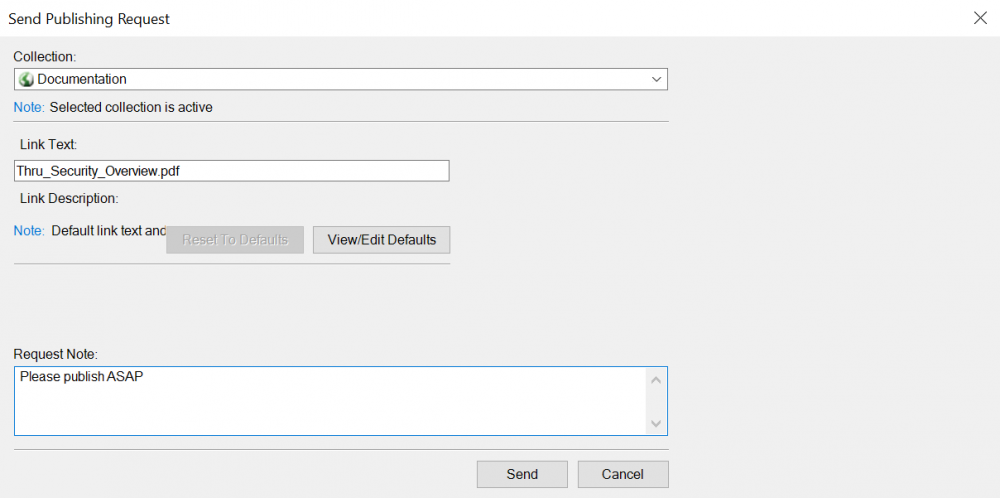
To make a file available for download via a Published page, use the Publishing feature.
NOTE: You must be a user in the Publishing Users group to get access to this function.
Once you have submitted your file for publishing, a user belonging to the Publishing Administrators group will need to approve the publishing of the file.
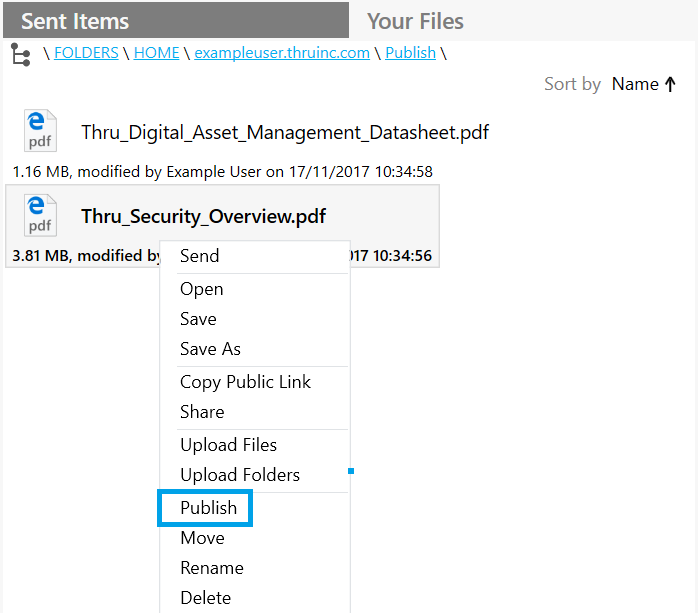
To publish a file in Thru directly from the Thru Side Panel:
Right-click on the file and select Publish from the menu.
A Send Publishing Request window will appear, select the Collection that the file is to be published under.
Move Files or Folders in Side Panel
To move files or folders to a different folder within Thru Side Panel:
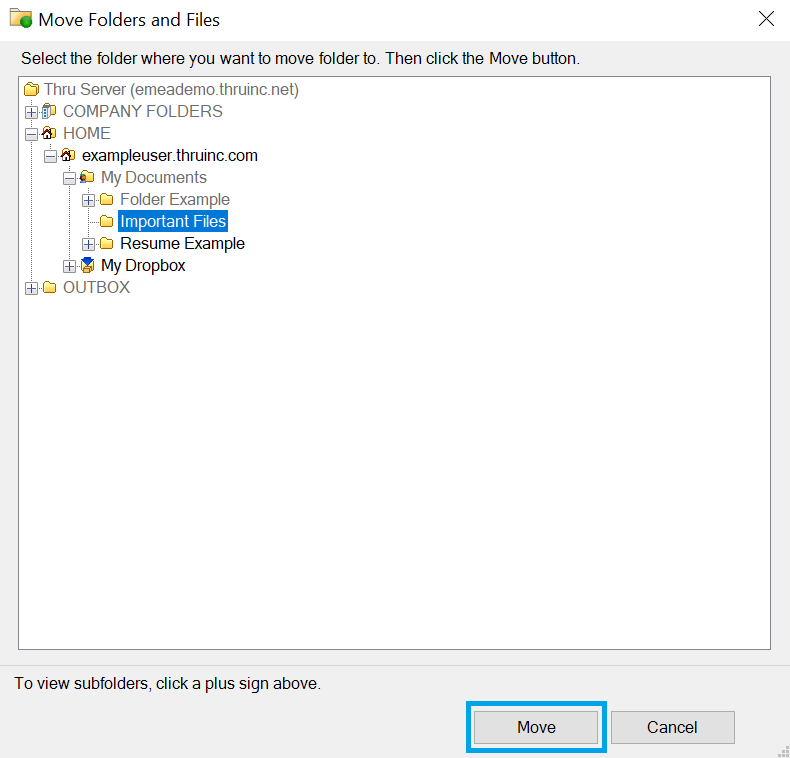
Right-click a file/folder and click Move.

The Move Folders and Files window opens. Navigate the folder tree and select the new location you want to move files or folders to.
After selecting the folder, click Move at the bottom of the window.
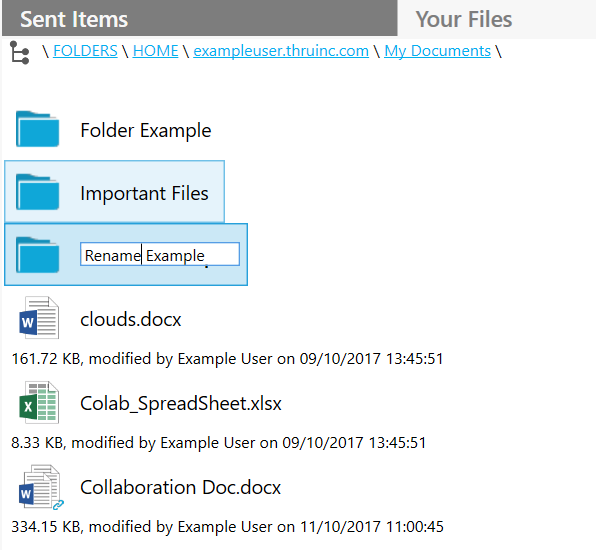
Rename Files or Folders
To rename files or folders in Thru Side Panel:
Right-click a file/folder and click Rename.
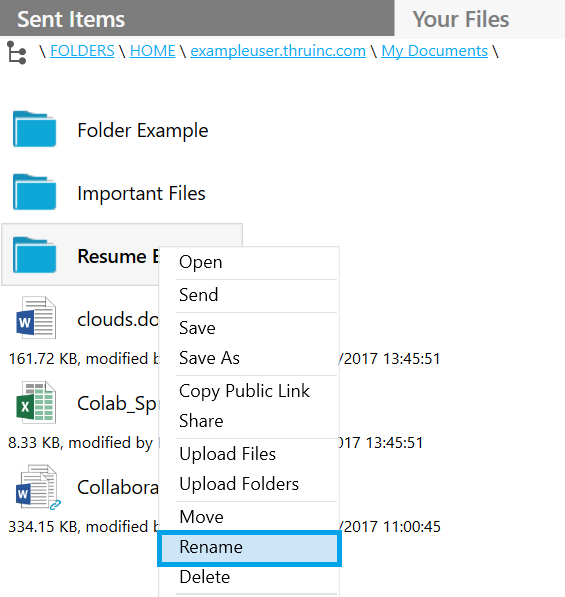
Type in the new name and then press Enter.
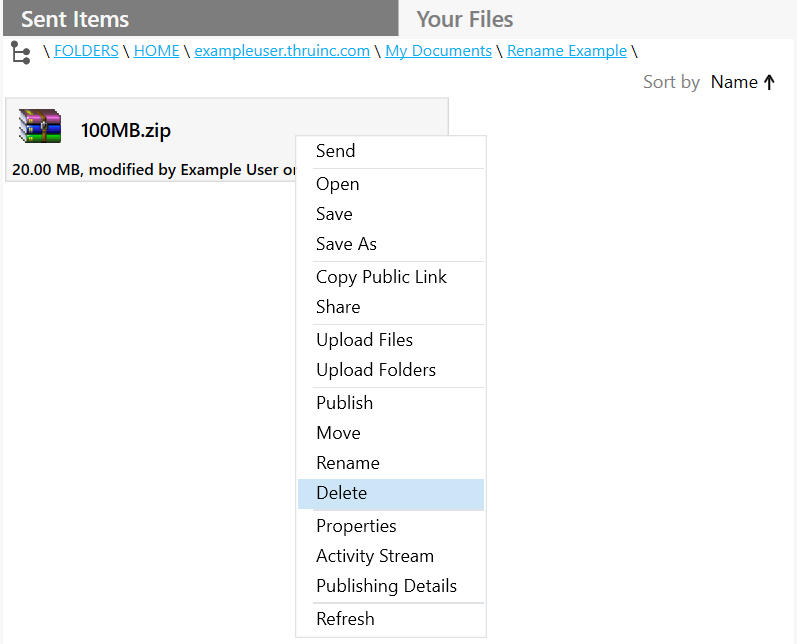
Delete Files or Folders
Warning
All files and folders deleted from within folders in Thru Side Panel will be permanently deleted from the Thru server. You will be asked to confirm if you want to permanently delete files/folders every time to attempt a deletion.
To delete files/folders from Thru Side Panel:
Right-click a file/folder and click Delete.
Versions
If your Thru site has versioning enabled, a Versions option appears when selecting a file that has been versioned.
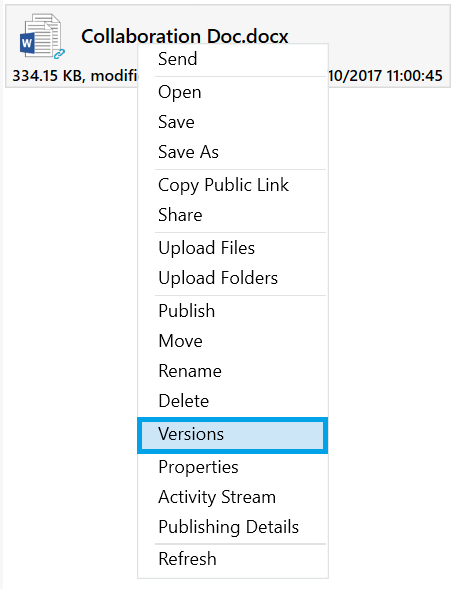
Right-click on Versions and the Properties window will open. From this view, you can restore previous versions or download previous versions.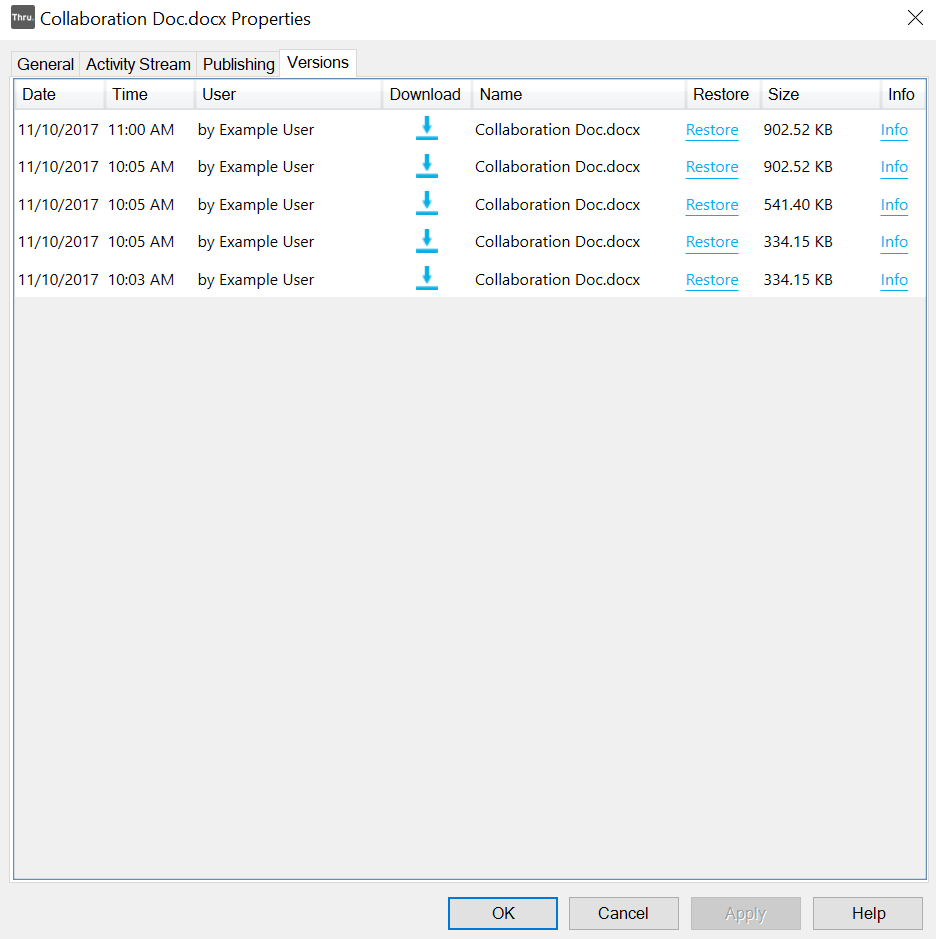
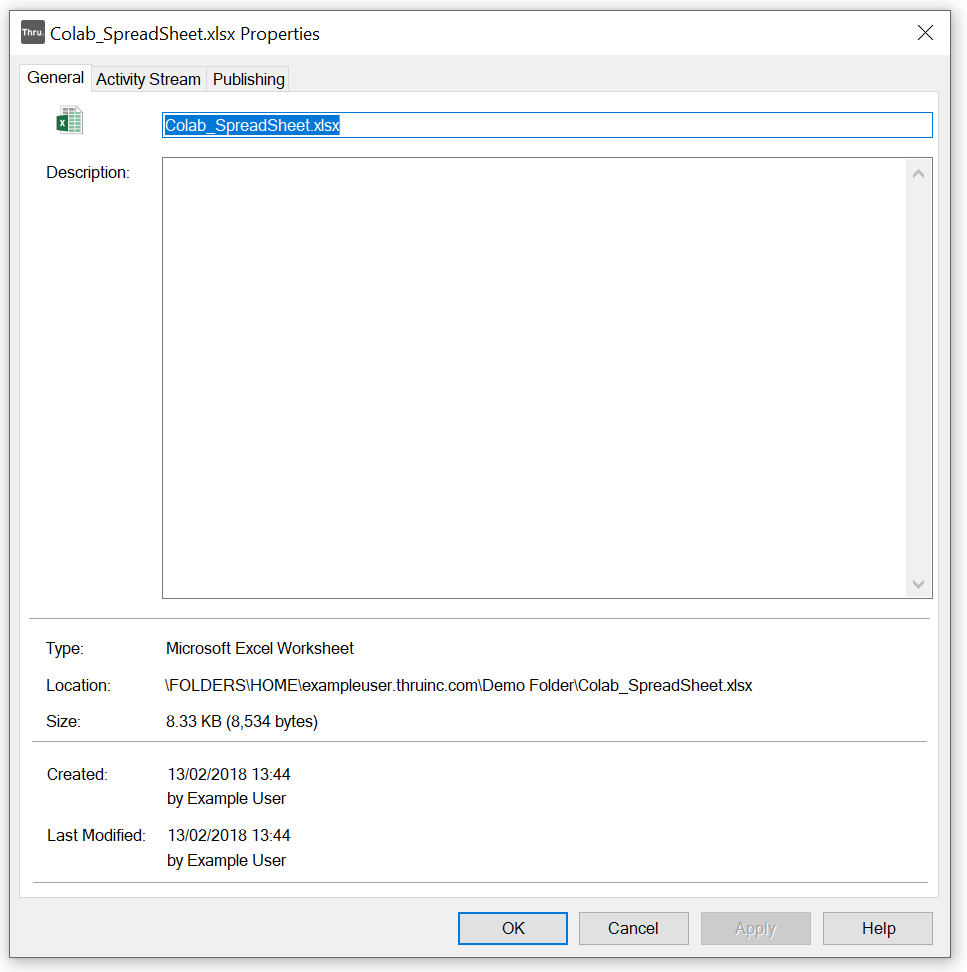
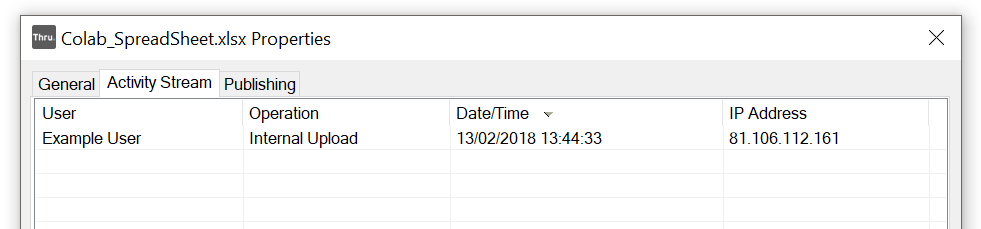
View Properties and Activity Stream
To view the Properties and Activity Stream details of files/folders:
Right-click the file or folder and click either Properties or Activity Stream.
A window opens that has four tabs for properties: General, Activity Stream, Publishing, Versions (if versioning enabled and if file has versions).
Properties
The General tab displays multiple properties about files or folders such as file type, location on the Thru server, size, date created, author and when it was last modified.
Activity Stream
The Activity Stream tab displays what operations have been performed to a particular file or folder such as internal uploads, internal downloads, transfers, deletions, etc. Each operation to a file or folder also shows the user who performed the action, the date and time and the IP Address used.
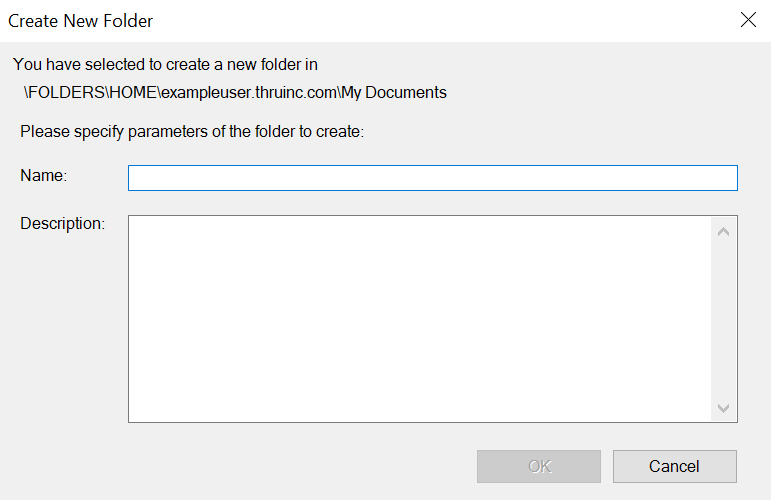
Create New Folder
To create new folders and subfolders within Thru Side Panel:
Right-click within a folder and select Create new Folder....
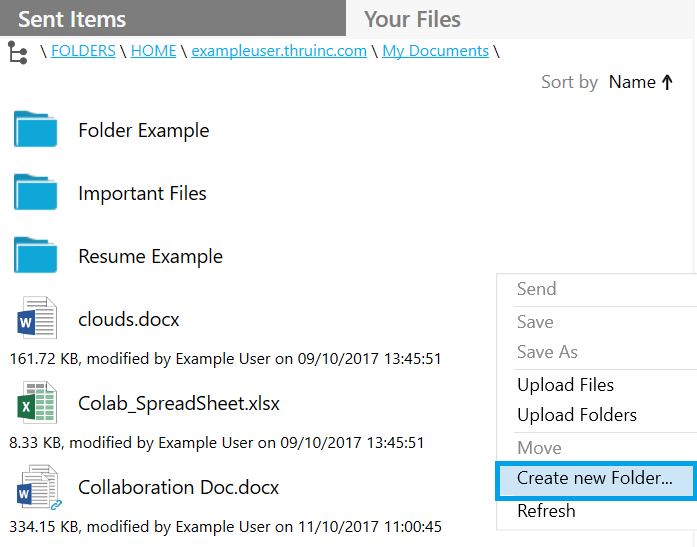
The Create New Folder window opens. Fill in the name and description of the folder you want to create and click OK.
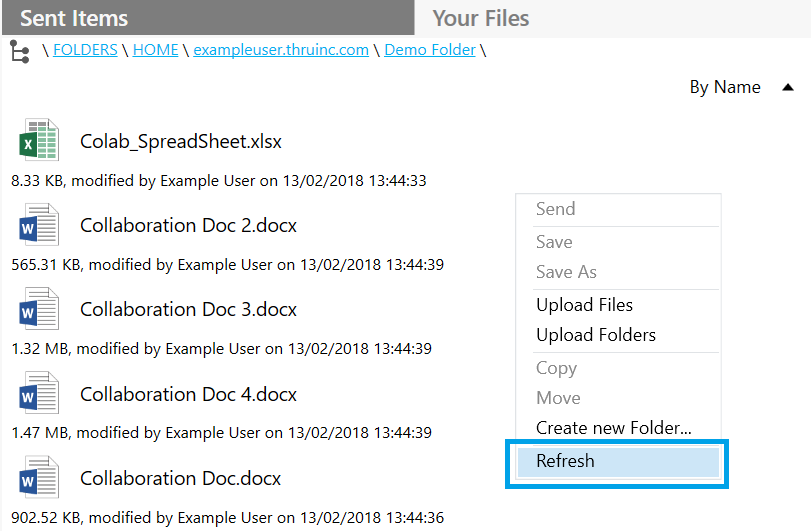
Refresh Folder
To refresh a folder with the latest updates:
Right-click a folder and click Refresh.
Locate Outlook Email Attachments Sent with Thru
Whenever you send file attachments via the Thru for Outlook add-in, the file attachments are automatically stored in your Thru Outbox folder and are organized by the date they were sent.
You can access the Outbox folder directly in the Thru Side Panel in Outlook.
Subfolders by month contain subfolders by day.
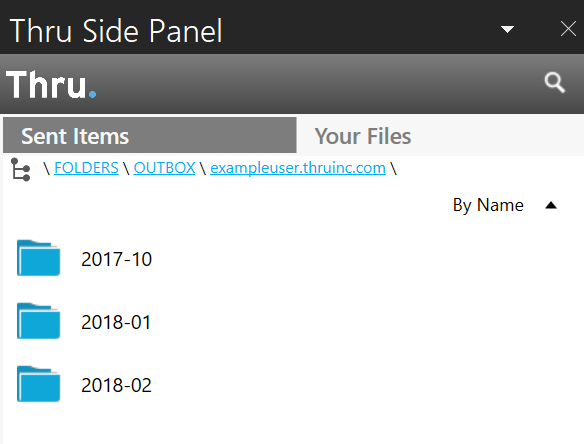
Once you know what day an email was sent with Thru, you can select the month's folder and then access that day's folder.
The "day" folder will contain folders with the email subject for every email that was sent out.
For example: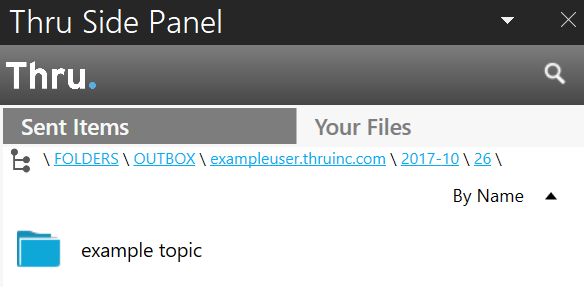
When you have located the sent attachments, you can right-click any file and click Open or Save As to download a copy of the file and view its contents.
You also have the option to perform the actions already covered in File and Folder Actions.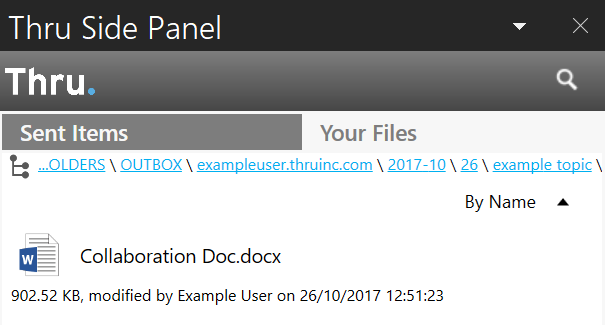
You can also access your Outbox folder from Thru Web, Thru Explorer, and Thru mobile apps to locate the files you have sent with the Thru for Outlook add-in.