Send Files
When and how Thru moves files are determined by what type of endpoints are being used. The endpoints at the source and target of the flow are either Thru Server or external endpoints. We use the terminology Thru Server and External to differentiate between Thru creating and acting as the server or Thru connecting to an external server using credentials provided by the client.
Thru encompasses different endpoint types including FTPS, SFTP, and LAN protocols. New endpoint types can be added upon request.
The way endpoints are structured, based on the specific use case, will determine how Thru moves files from end-to-end.
External endpoints simply are when Thru is connecting to an external endpoint. For example, we will set up an external SFTP endpoint in Thru to start pulling files into a flow.
Click the Organization tab.
On the organization you just created, hover over the Actions tab icon and select Endpoints.
Click the + Add Endpoint button.
Toggle to Enable.
Enter the name in the Endpoint Name * field.
Enter a description for the endpoint.
Select External SFTP Server from the dropdown under the Protocol * field.
Enter the host info in the Host * field.
Enter the port info in the Port * field.
Enter a certificate and description if needed.
Click the Save button.
Only external endpoints have a scheduling option in the Flow Endpoint Editor.
Thru Server endpoints define when Thru is acting as a passive server and the client sends files at will. Thru generates a unique URL to connect to when the endpoint is created for the organization. A user then needs to be created for the internal Thru Server. In this example, we will set up a source Thru Server SFTP endpoint and create a user to receive and upload files.
Click the Organization tab.
On the Organization you just created, hover over the Actions tab icon and select Endpoints.
Click the + Add Endpoint button.
Enter the name in the Endpoint Name * field.
Enter a description for the endpoint.
Select Thru SFTP Server from the dropdown under the Protocol * field.
Enter a description for the endpoint.
Click the Save button.
Add User

Click the Flows tab.
Select the Flow you want to use.
Click the Flow Studio tab.
Click the tri dot icon under Actions and select Edit Endpoint Flow Settings for the Endpoint.
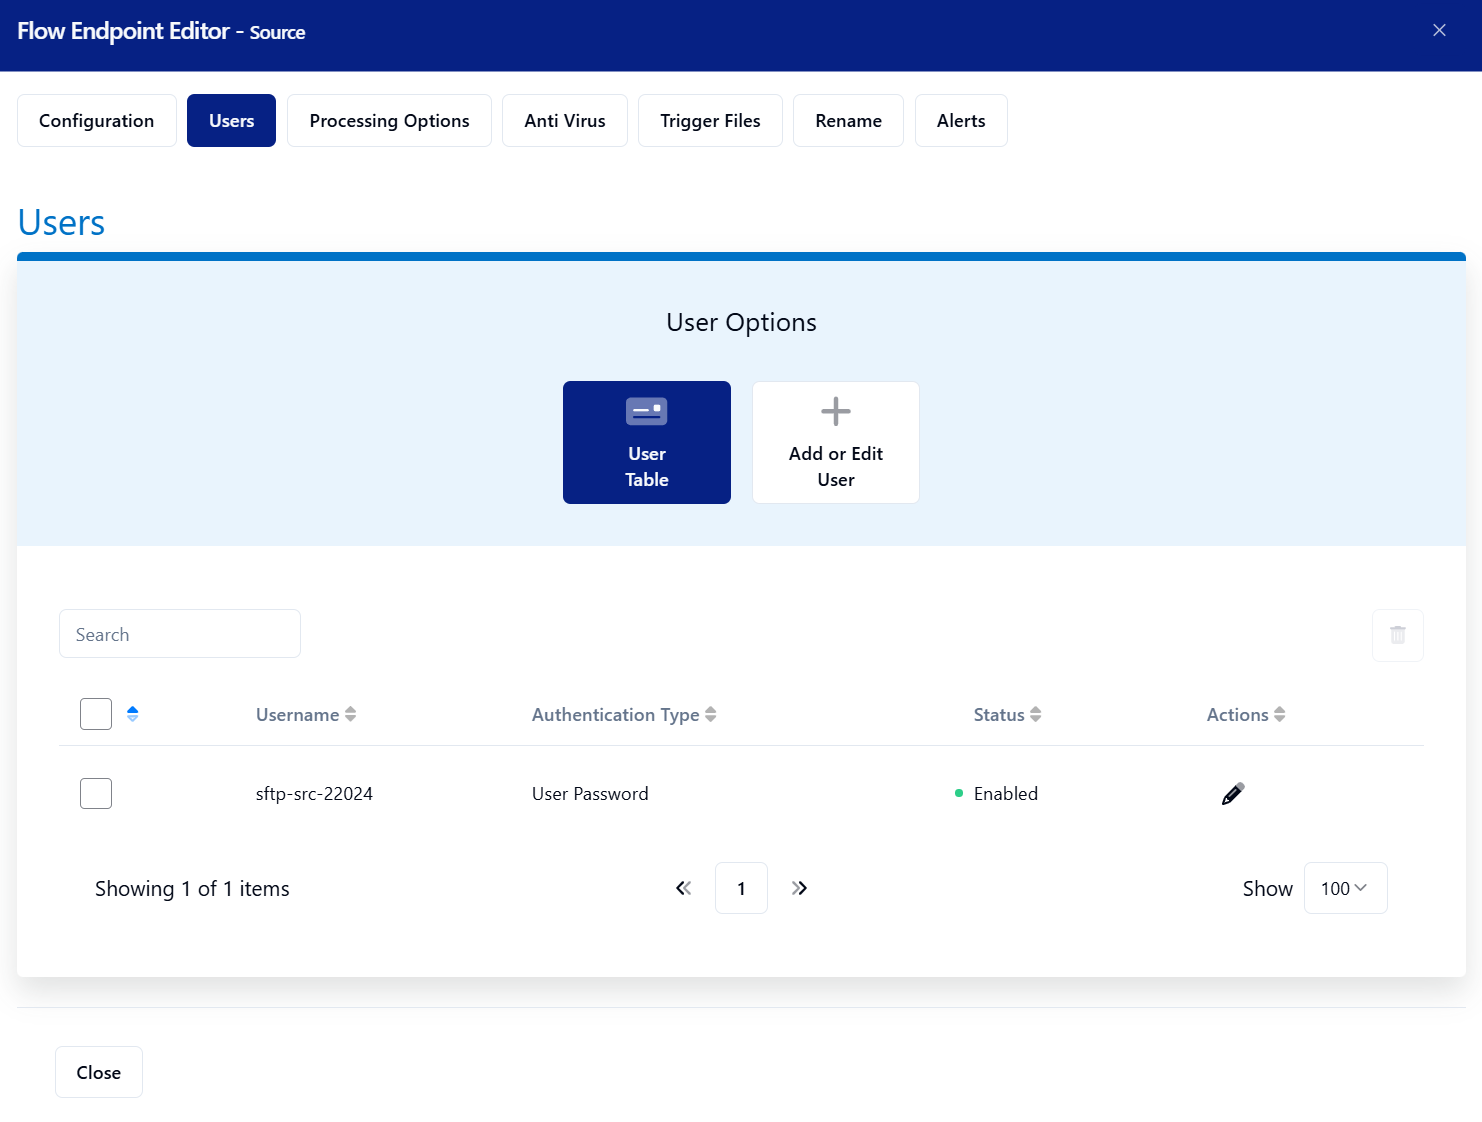
Click the Users tab.
Click + Add or Edit User.
Toggle on Enable.
Enter a username in the Username * field.
Select which Authentication Type *, we will use User Password.
Enter a password in the Password * field.
