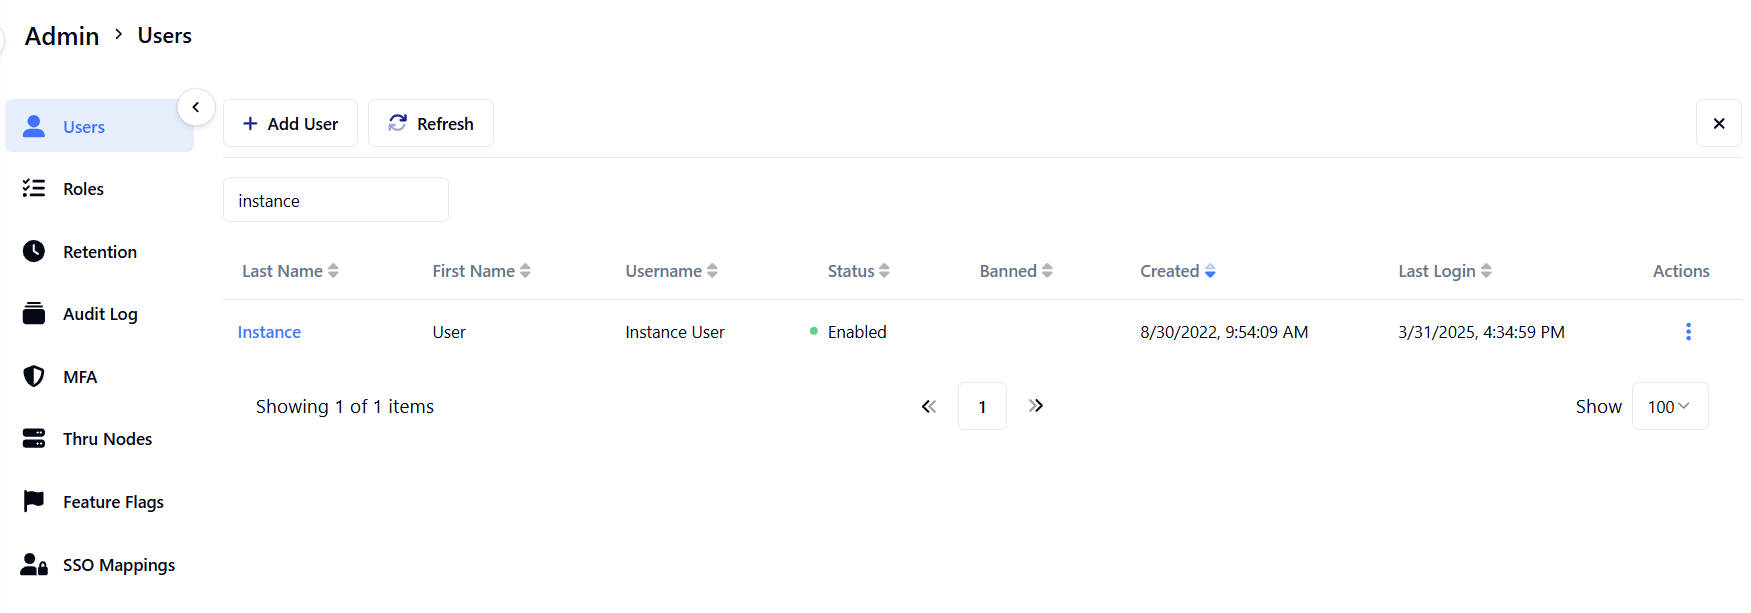
Users
The Users dashboard displays information on all active users in your instance.
Select + Add Users to create additional users for your instance and manage their settings from the Actions menu.
In the following steps, we will add a new User to the instance.
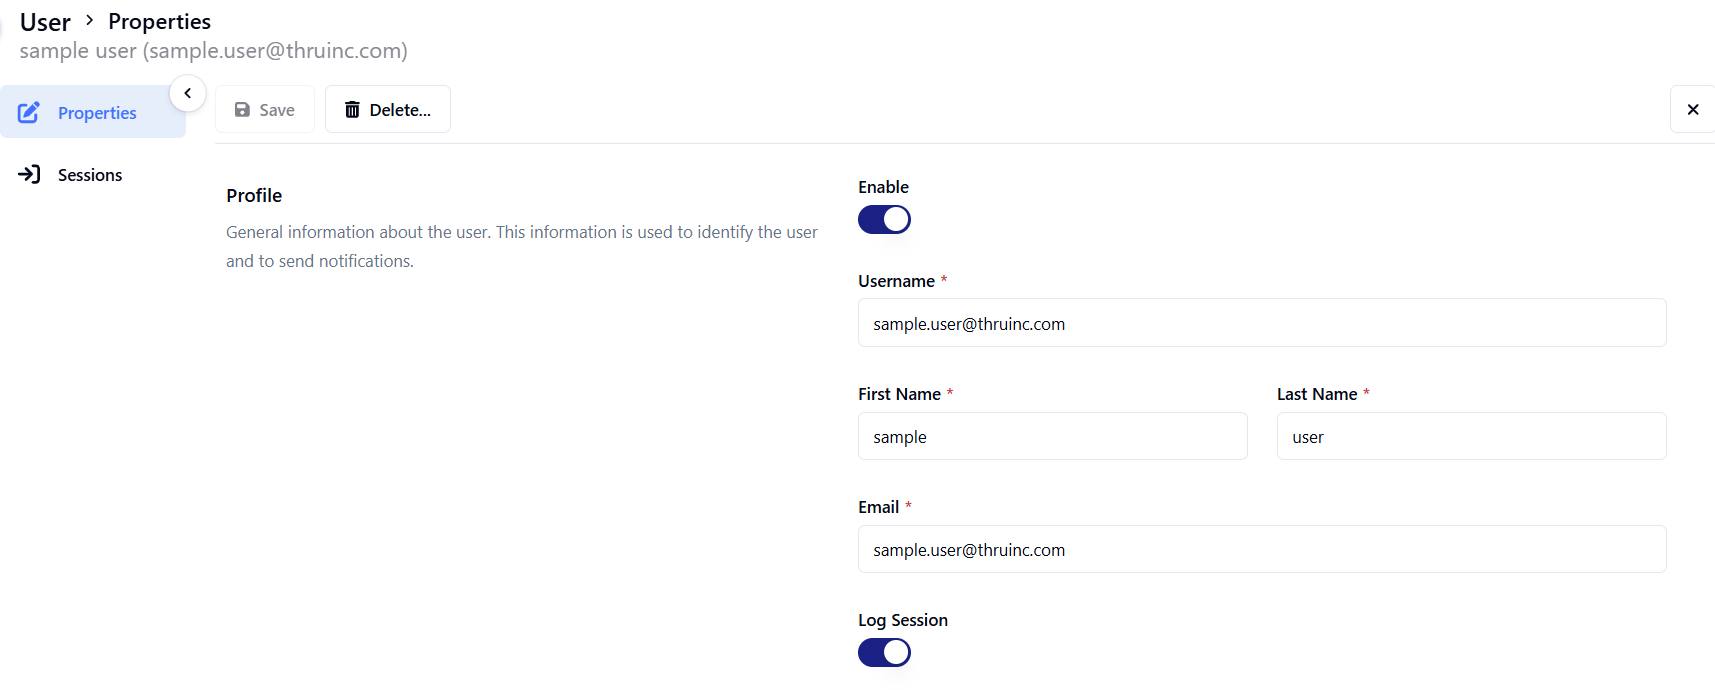
Add User
Click the + ADD USER button.
Enter a username in the Username * field.
Enter a name in the First Name * field.
Enter a last name in the Last Name * field.
Enter an email in the Email * field.
Toggle Log Session if needed.
Click Save.
Usernames can have a maximum length of 50 characters.
Users created in the Administration panel are Thru Web Portal instance users, not Thru Server FTPS/SFTP users who can access a Thru FTPS/SFTP Server endpoint.
To view a user's history, enable Log Session during user creation.
Four user roles templates are provided by default, as shown in the following user creation screenshot :
Instance Admin
Instance User
Org User
Org Transfer
The roles assigned to the user determine the permissions the user has.
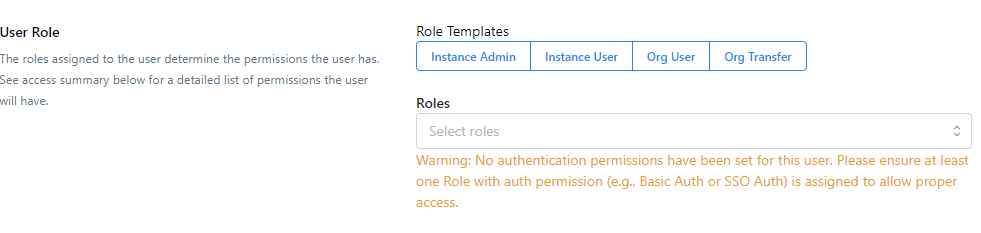
Please ensure at least one Role with auth permission (e.g., Basic Auth or SSO Auth) is assigned to allow proper access.
Choose the User Type to be associated with the user. More information about the roles can be found in the User Role section