Summary
View and Edit Summary of Content
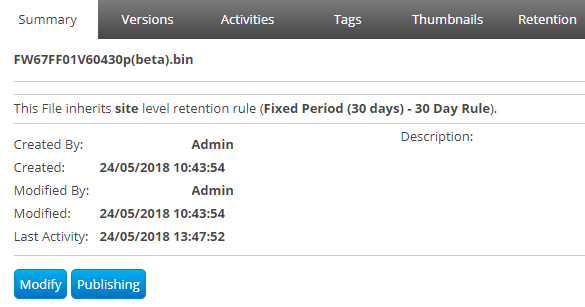
The Summary tab allows you to view and edit the item's name and description.
It also displays the name of the User who originally uploaded the item and who last modified the file along with the modification date.
The Inquire link opens a new email composition window with the email address of whom to contact to inquire about the information.
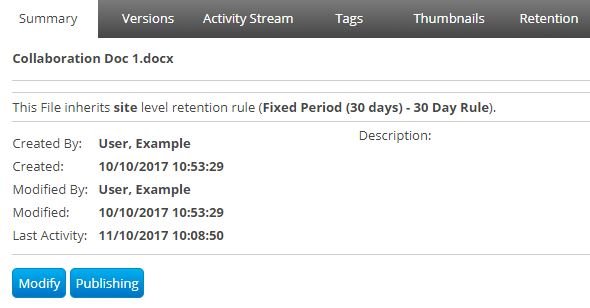
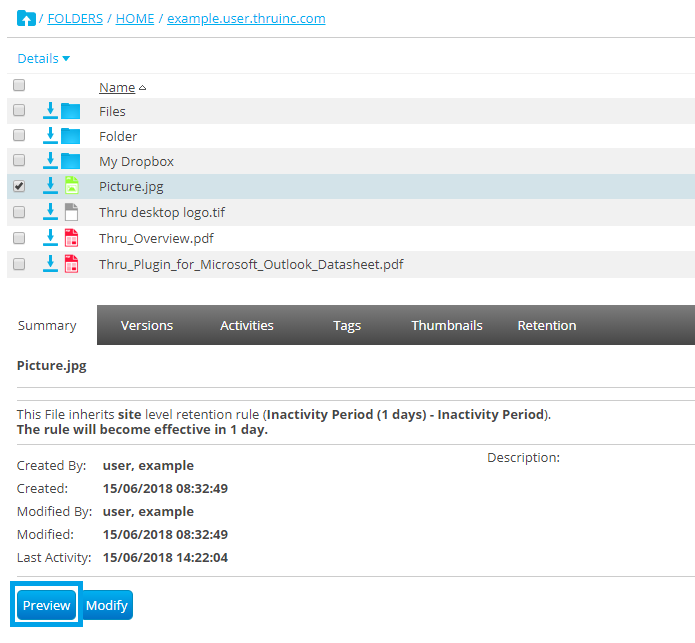
This image shows the Summary tab of a selected file.
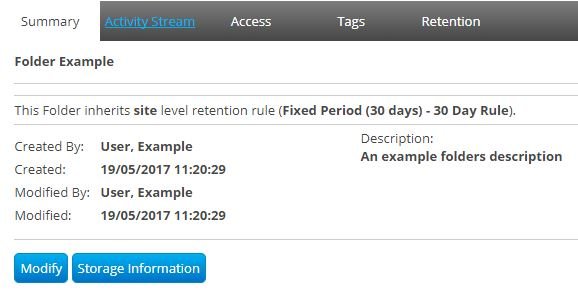
This image shows the Summary tab of a selected folder.
To change the name and description of a folder or file, click the Modify button and then click Save after making any changes.
Storage Information
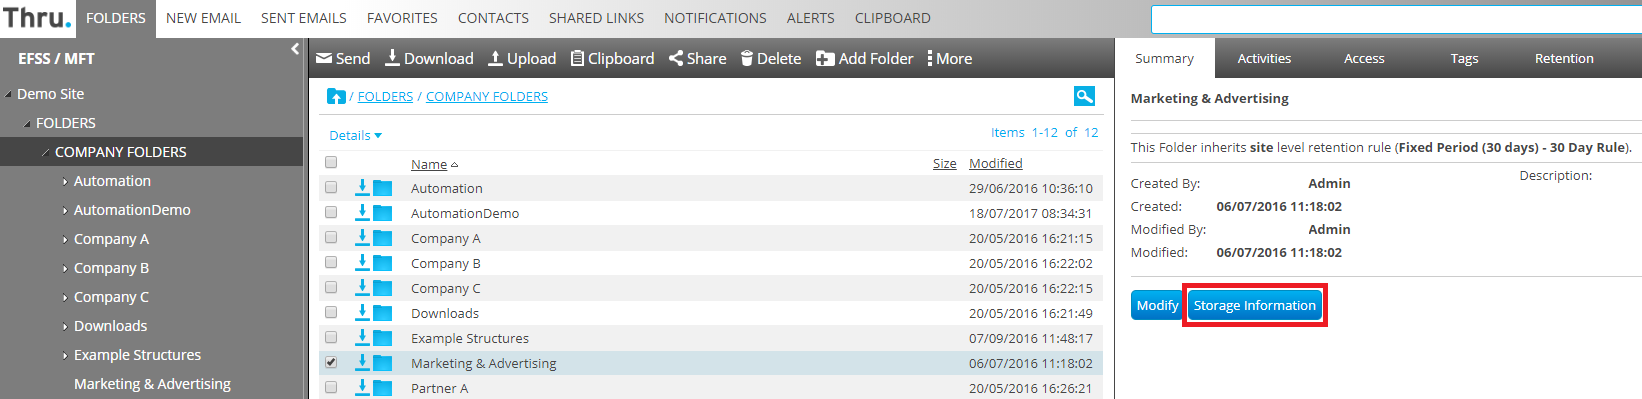
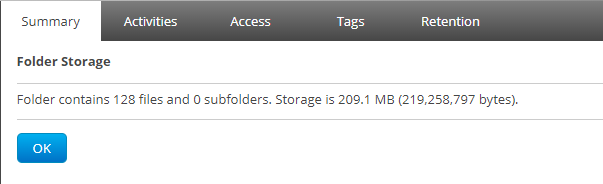
You can work out how much storage a folder is using by selecting (not double click) the folder in question.
Within the Summary Tab, you will see the Storage Information button (see screenshot below.)
When you click on the Storage Information button, a window will display how many files, subfolders, and storage that makes up the selected folder, as shown in the examples below.
Example 1:
Preview
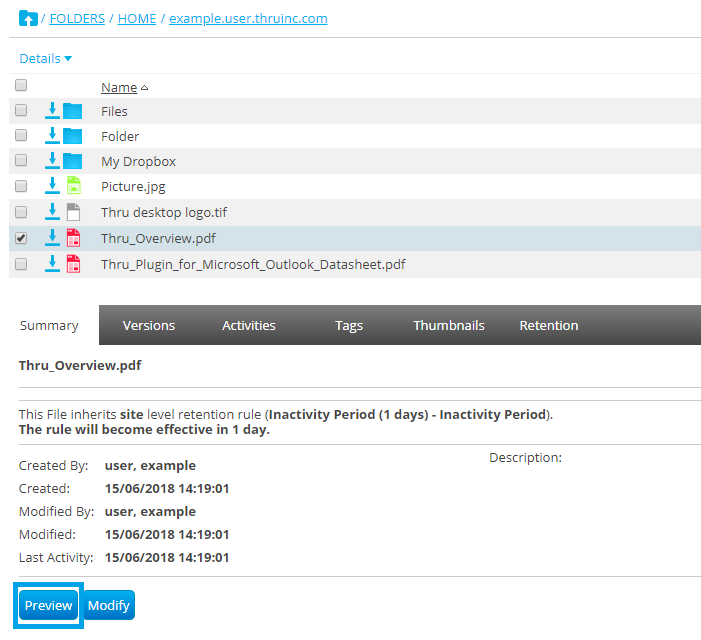
PDF documents and image files of the following formats can be previewed in Thru web portal internal application pages and external email distribution page:
png, jpg, jpeg, jfif, bmp, tif, tiff, gif, pdf
From the Summary tab, the Preview button is available for supported file types.
See examples, below.
Example 1:
Example 2:
Publishing a File via Thru
To make a file available for download via a Published page use the Publishing feature, you must be a user in the Publishing Users group to get access to this function.
Once you have submitted your file for publishing, a user belonging to the Publishing Administrators group will need to approve the publishing of the file.
To publish a file via Thru:
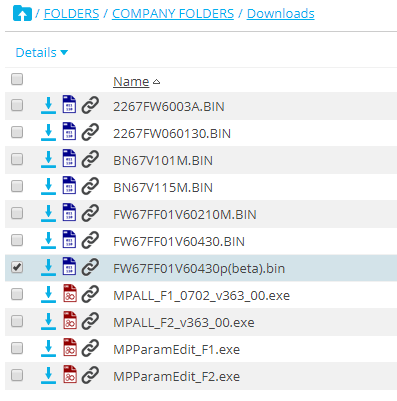
Select the file you want to publish.

In the Summary tab, you will see a Publishing button.
If you do not see a Publishing button, then you are not a member of the Publishing Users Group.
Contact your Thru administrator to request membership.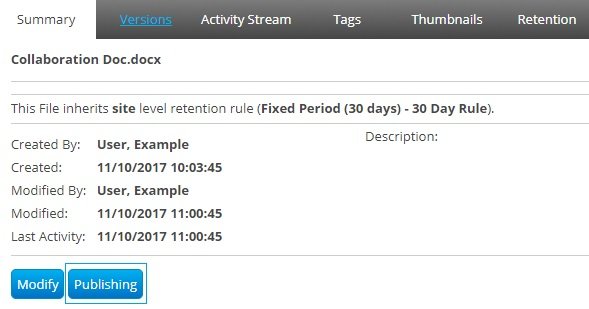
Clicking on Publishing will spawn a File Publishing Information window.
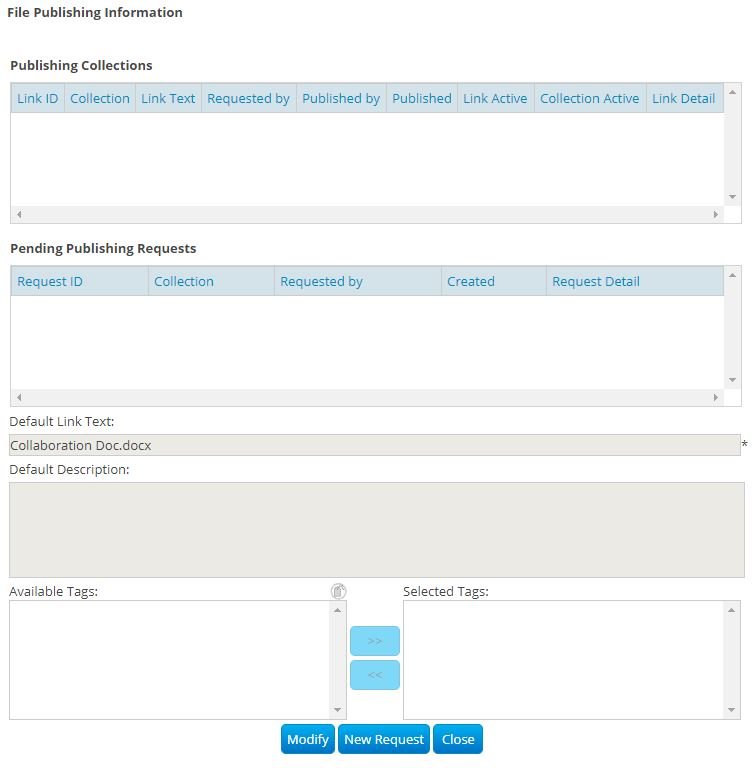
Clicking on New Request will take you to a New File Publishing Request.
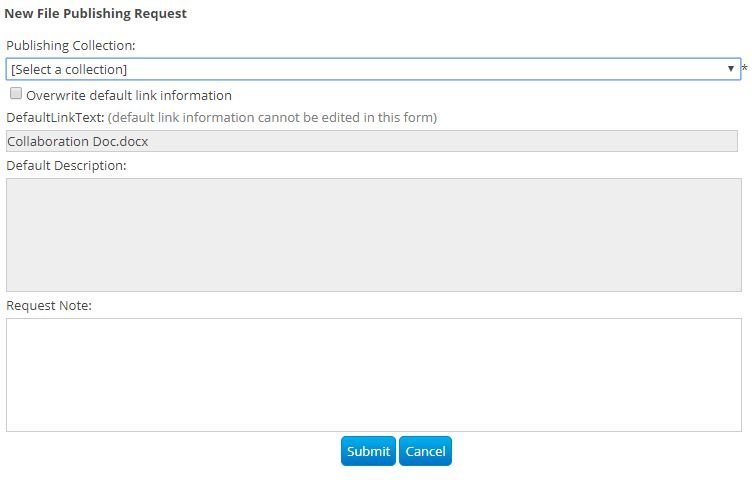
Under the Publishing Collection may be predefined Collections for the file to be added to.

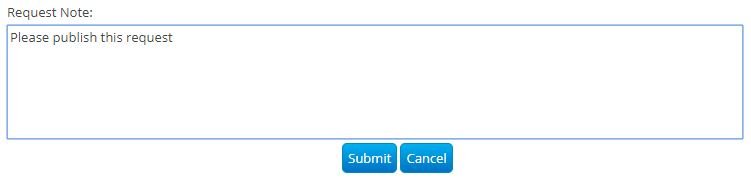
Add a note (optional) to the Request Note letting the Publishing Admin know the reason the file is needed to be published and click Submit.
Once approved, you will receive an email from Thru's Notification System stating that the Publishing Request has been approved.

Un-Publish a File in Thru
Users who have published a file or have the rights to Publishing can also un-publish a file from the Thru portal.
Navigate to the folder that contains the file that no longer needs to be part of a published collection.
Select the file that needs to be un-published.
In the Summary view, click on the Publishing button.
This will spawn a File Publishing Information window.
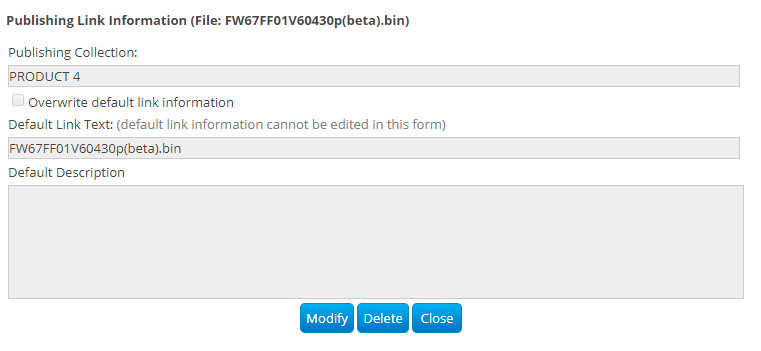
Click on View/Edit.
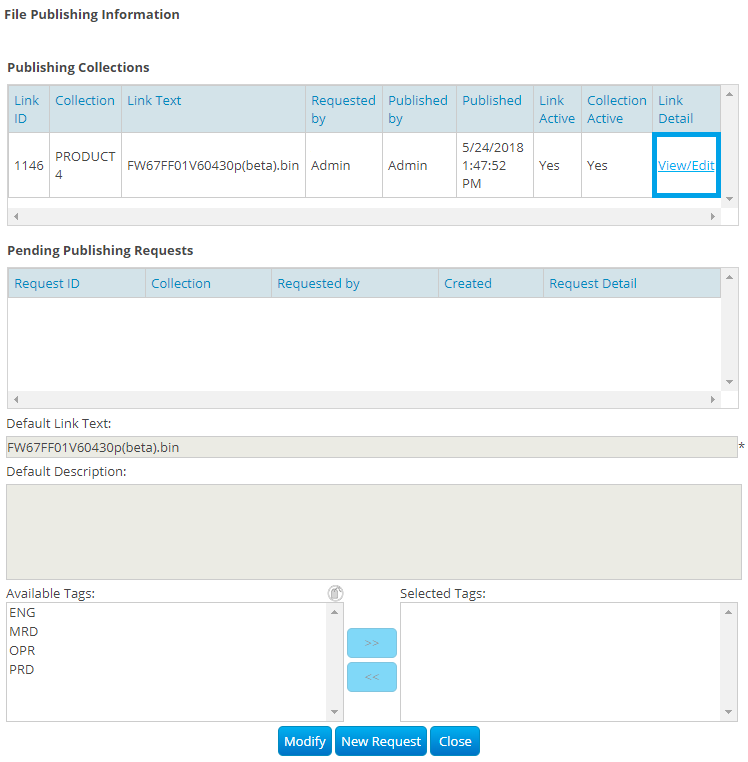
This will then spawn a window where you can either Modify or Delete the file from the Collection.